
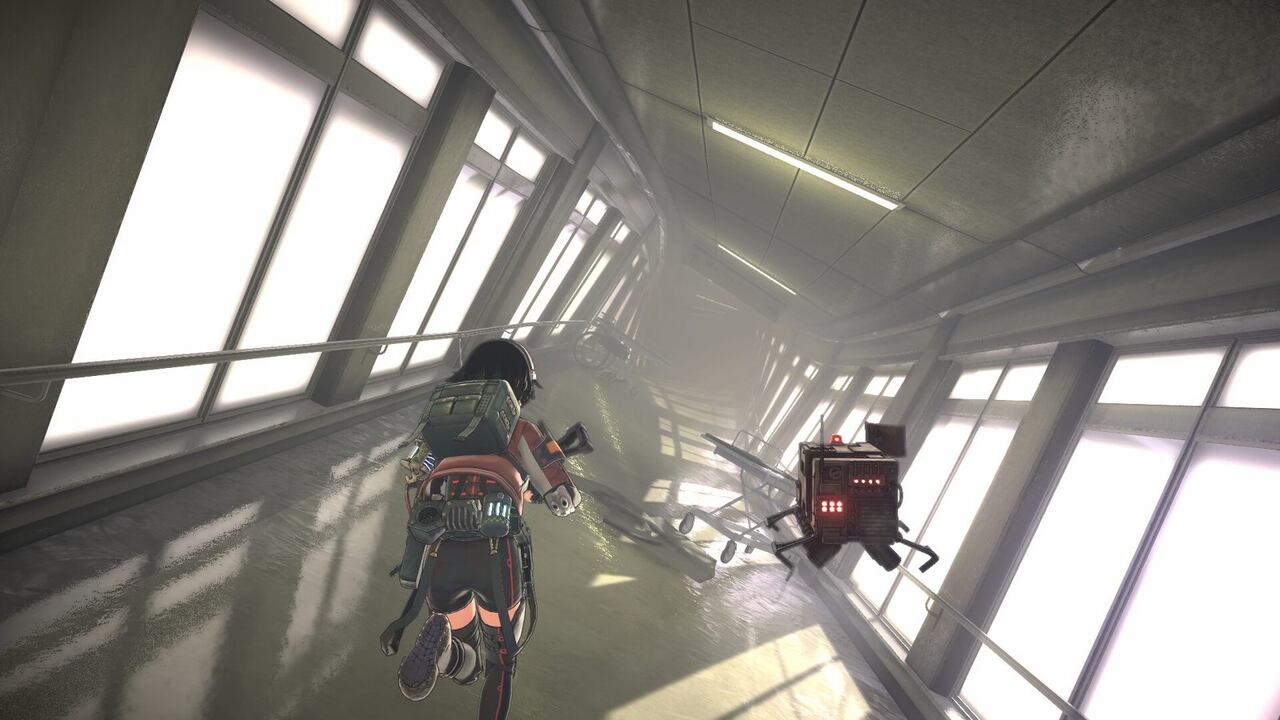
Every boss in ANOMALITH is built from the same three parts: a target that is not the body, cover that has to be found before the attack lands, and one animation that tells you the window is open. The game names six fights. The pages below take five of them apart in that order — the hospital, the shopping street, the gravity zone, the subway, and the acid fight in Block D — and the roster covers the sixth alongside them.
What the five fights share
None of them can be solved by aiming better. In each one there is a period where shooting the boss does nothing at all, and the fight is really about what you do during that period — find the pillar, break the lamps, kill the clones, wait for the third Landmark.
The second shared rule is ammunition. Bosses drop nothing, and the supplies in an arena are limited to what is already lying there. A fight you win with a third of your reserve left is a fight you can repeat; a fight you win empty is a fight you cannot.
There is no dodge button, so avoidance is geometry. Every attack listed on these pages is answered with a position: behind a pillar, behind a low barrier, at the back of the arena, on the one stretch of floor with no rails on it.
The five pages
| Boss | Where | The one thing to know |
|---|---|---|
| Shirayamigata | Kirishima Central General Hospital, operating room | Shoot the lamps on its back, never the body |
| Mädchen | Miyanohatacho Shopping Street, south street to Neon Alley | Run sideways, never diagonally, when it spins |
| Cyclops | Yotsubadai Heights, merged gravity zone | The body is immune until the clones are dead |
| Kaede Mori | Subway, Okawamachi Station, vision layer | No damage counts until the third Landmark breaks |
| Chironex | Yotsubadai Heights, Block D | A stronger gun sprays more acid — bring a light one |
Read the order of operations
Every page follows the same sequence: find the cover, find the target, then find the window. Players who reverse the first two spend the fight being pushed into open ground with nothing left to shoot.
How to use these pages
If a fight is not working, the answer is usually in the second section of its page rather than the first. The target is easy to see; the timing that makes the target reachable is what ends attempts.
Each page also lists what the fight asks of your loadout before you enter. None of the five needs a specific weapon to be survivable, but four change shape depending on what you carry — and in Chironex's case the change runs the wrong way, which is worth knowing before the elevator rather than after it.