
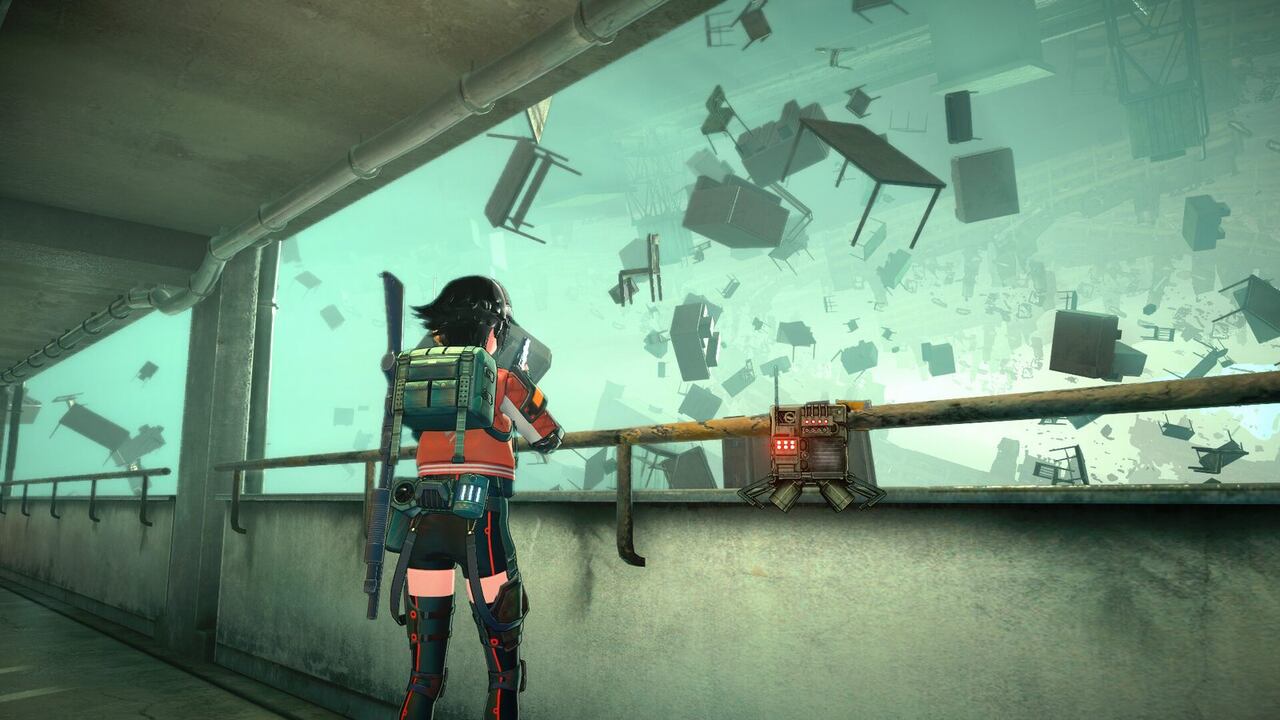
ANOMALITH has at least six named bosses, and the structure behind them is consistent: a telegraphed attack you must avoid rather than dodge, a weak point that only opens at certain moments, and a stagger window that turns into free damage. Five of the six have their own pages. The sixth is SELF Leader.
The six fights
| Boss | Where | Notes |
|---|---|---|
| Shirayamigata | Kirishima Central General Hospital | The demo's final fight; carries the "Anomaly" trophy |
| Cyclops | Merged Gravity Zone | Carries the "Distant Overseer" trophy; splits into three |
| Mädchen | Miyanohatacho Shopping Street | Carries the "Statue Protector" trophy; was called Girl Type in early guides |
| Kaede Mori | Subway, Okawamachi Station | Carries the "Guiding Light" trophy; a character fight |
| SELF Leader | HE Corp Building, observation room | Carries the "Uprising" trophy |
| Chironex | Block D, Yotsubadai Heights | No trophy attached; the only mid-boss on this list |
Five of these appear in the trophy list as "defeated" achievements, which is how their names become verifiable at all. Chironex has no trophy, so it may be a mid-boss rather than a story fight — and because mid-bosses do not get trophies, the true total is higher than six. Treat six as a floor, not a count.
Five of them are broken down attack by attack on their own pages: Shirayamigata, Mädchen, Cyclops, Kaede Mori and Chironex. What follows here is the roster and the rules that apply to all of them.
 Official media · Steam
What the trophies give away
The achievement list doubles as a boss index, because each victory trophy is named after the fight rather than the story beat. It names five of them, and the order they sit in is the order you meet them.
There is no trophy for an alternate route, a second ending or a hidden final boss. The completion trophy simply reads "completed all main missions", which is what a game with one path through it would print.
Preparing for a boss
Three preparations carry across every fight in the game. Fill your ammunition before you enter: bosses drop nothing, so what the arena already holds is all the resupply you get. Build the portal before the arena if the level gives you one, so materials collected on the way are banked rather than risked.
The third is your skill loadout. Parry is worth 15 MP and turns a boss swing into free damage; Float Shield costs 5 MP and blocks a corridor's worth of projectiles. Neither is a damage skill, which is exactly why they matter in fights where your ammunition is the limiting factor.
The one rule that transfers
Every boss here has at least one attack you cannot outrun. Find the pillar, the rock or the corner first, then look for the weak point. Players who look for the weak point first spend the fight being pushed into open ground.
 Official media · Steam
Shirayamigata: the light-node fight
This is the boss at the end of the hospital, and it teaches the game's core boss grammar. Fight it normally until its health drops by roughly a tenth, and it releases an omnidirectional light attack. If you are not standing behind a pillar when that lands, you take heavy damage — running does not save you, only cover does.
Once the light clears, the shadowless lamps on its back open up. Those lamps are the actual target: break all of them and the boss takes heavy damage and drops into a vulnerable state. Then it stands back up and the cycle repeats.
The rhythm is therefore avoid, break, punish, reset. Because the fight is a loop rather than a race, ammunition discipline matters more than damage output — this is the fight that punishes players who emptied their reserves on the way in.
The demo calls this fight Bleicher Geist, and the achievement calls it Shirayamigata. Either name means you are in the right room.
Cyclops: three bodies and a force field
Cyclops has two forms. In the first, it fires a beam you avoid by putting a rock between you and it, and the only damage that counts is to the head. The tell that the beam is finished is a specific animation — it grabs its head. Move out of cover before that animation and you get hit by a beam that looked finished but was not.
The second form splits the boss into three: the real one plus two clones. The real body carries a force field, so shooting it is wasted ammunition. The clones are the targets, and they are easiest to kill the moment they stop moving, which is also when they swing at you like a wrecking ball.
Those swings can be parried. That is the one place in either fight where the parry skill pays for itself, because a parried swing leaves a clone open with no ammunition spent.
When both clones are down, the real body starts blending into the background. Watch the floor and the silhouette rather than the health bar — losing track of it is the most common way this fight goes wrong.
 Official media · Steam
Chironex: the acid problem
Chironex sits in Block D and fights with acid rather than beams. The important interaction is counterintuitive: the stronger your weapon, the more acid it sprays into the arena, so a shotgun makes the floor unlivable while a light weapon keeps it clean.
Its weak point is a glowing purple mass at the front, which is easy to miss because it is not where you naturally aim. The acid arrives as pods that fall from above, so you need to look up, read where they will land, and be somewhere else — the splash radius is large and the damage is front-loaded.
It also spawns smaller enemies partway through. Killing those immediately is usually correct, because the fight is already asking you to track falling objects and a weak point at the same time.
What every boss asks of you
There is no dodge button in this game, so avoidance is positioning: pillars, rocks, corners and distance. Every boss above has at least one attack that cannot be outrun and must be blocked by geometry.
Weak points open and close. Shooting a boss in the body when its weak point is closed is ammunition you will want later, and nothing in the arena will replace it.
Stagger windows are the damage phase. Brutal Raid costs nothing to cast and only works on a staggered enemy, which makes it the correct finisher in every fight on this list.
The last one
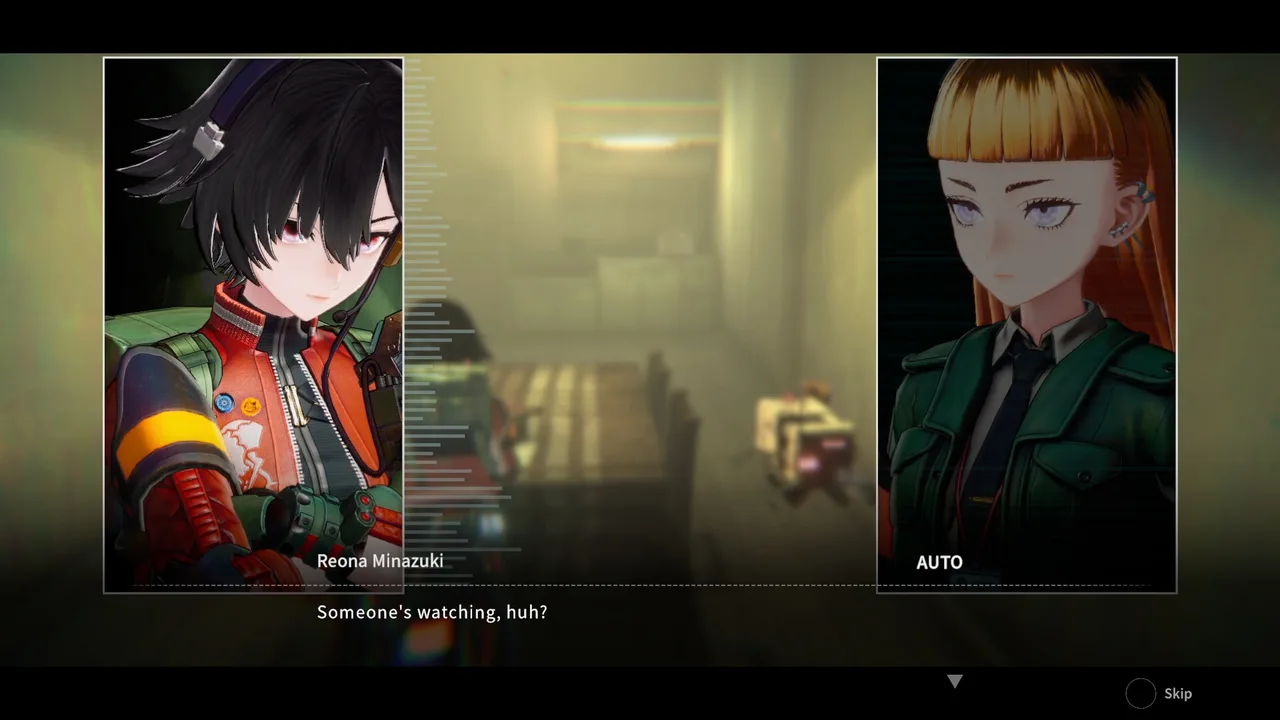
SELF Leader is the sixth, and the only one without a page. The fight happens in the observation room at the top of the HE Corp building, immediately after Hibiya, and it opens with a transformation rather than with a boss bar.
If you are stuck on a fight not described here, the safe approach is the one Shirayamigata teaches: find the geometry first, then find what opens.